Postrpoduction and visual effects are essential in every field of contemporary digital production, digital images are nowadays almost always post-processed as professional contemporary tools are getting widely accessible and offer great variety of manipulation . At post production class we try to get a glimpse of possibilities and workflows necessary to understand basic principles that can lead to plausible results. We jump into video manipulation and discuss all pre-production, production and post-production aspects of visual effects because foundations are the same for any digital image post processing – media consists of the same basic elements. Students go trough practical workflow examples and familiarize with terminology and principles, so in the end of course they grow foundations to further develop their knowledge if digital image manipulation.
Below students give their views on preparation, filming and post-production. The project will continue next year with a new generation of students.
Sodelujoči študentje // Participating students: Rok Urbanček, Anja Paternoster, Katja Pivk, Parisa Zaeri, Amadeja Kirbiš, Ezgi Sakin, Maja Grčki, Denis Perčič | DUP // DAP 2&3 | Digitalni praktikum: Postprodukcija // Digital Practicum: Postproduction | Mentor for story, camera, shooting: Jan Perovšek; Mentor for postproduction: Luka Leskovšek
The Sky Starts to Darken: Preproduction
Story and Storyboard
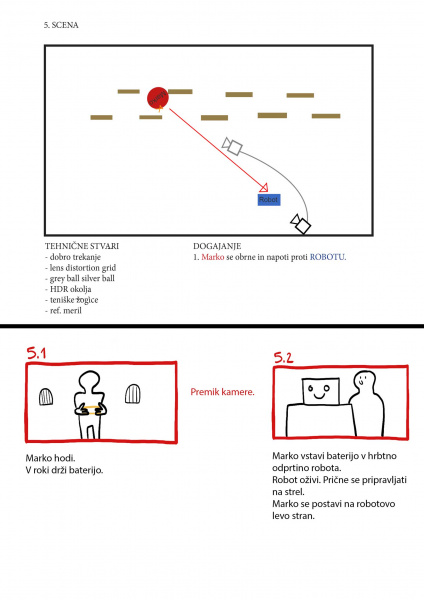
The goal of this year’s class of Postproduction was a short film that strongly features special visual effects (VFX). The project started with writing a story and creating a storyboard – both was constructed by the whole class and was upgraded by individuals, with the help of professors Leskovšek and Perovšek; with their knowledge of postproduction and visual communication they guided us so that the project would be most realizable. The following story of a short film was made:
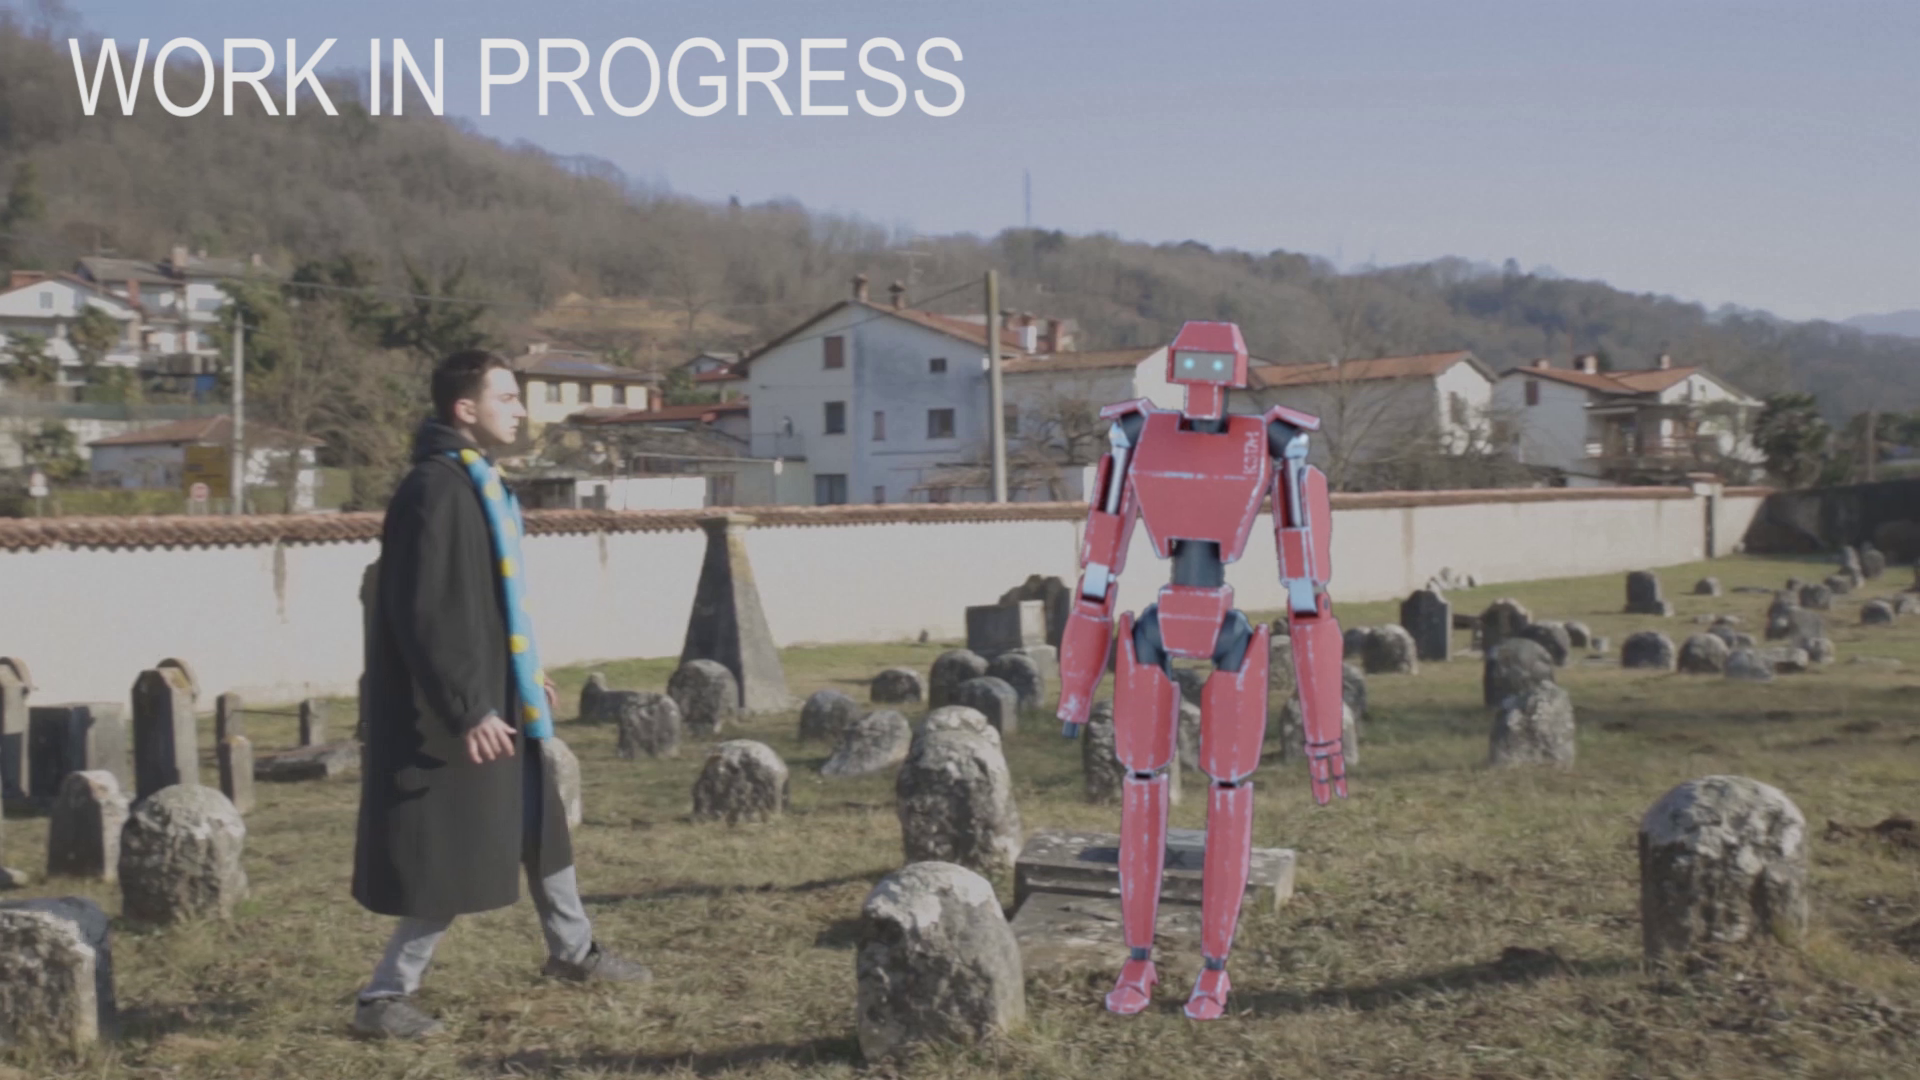
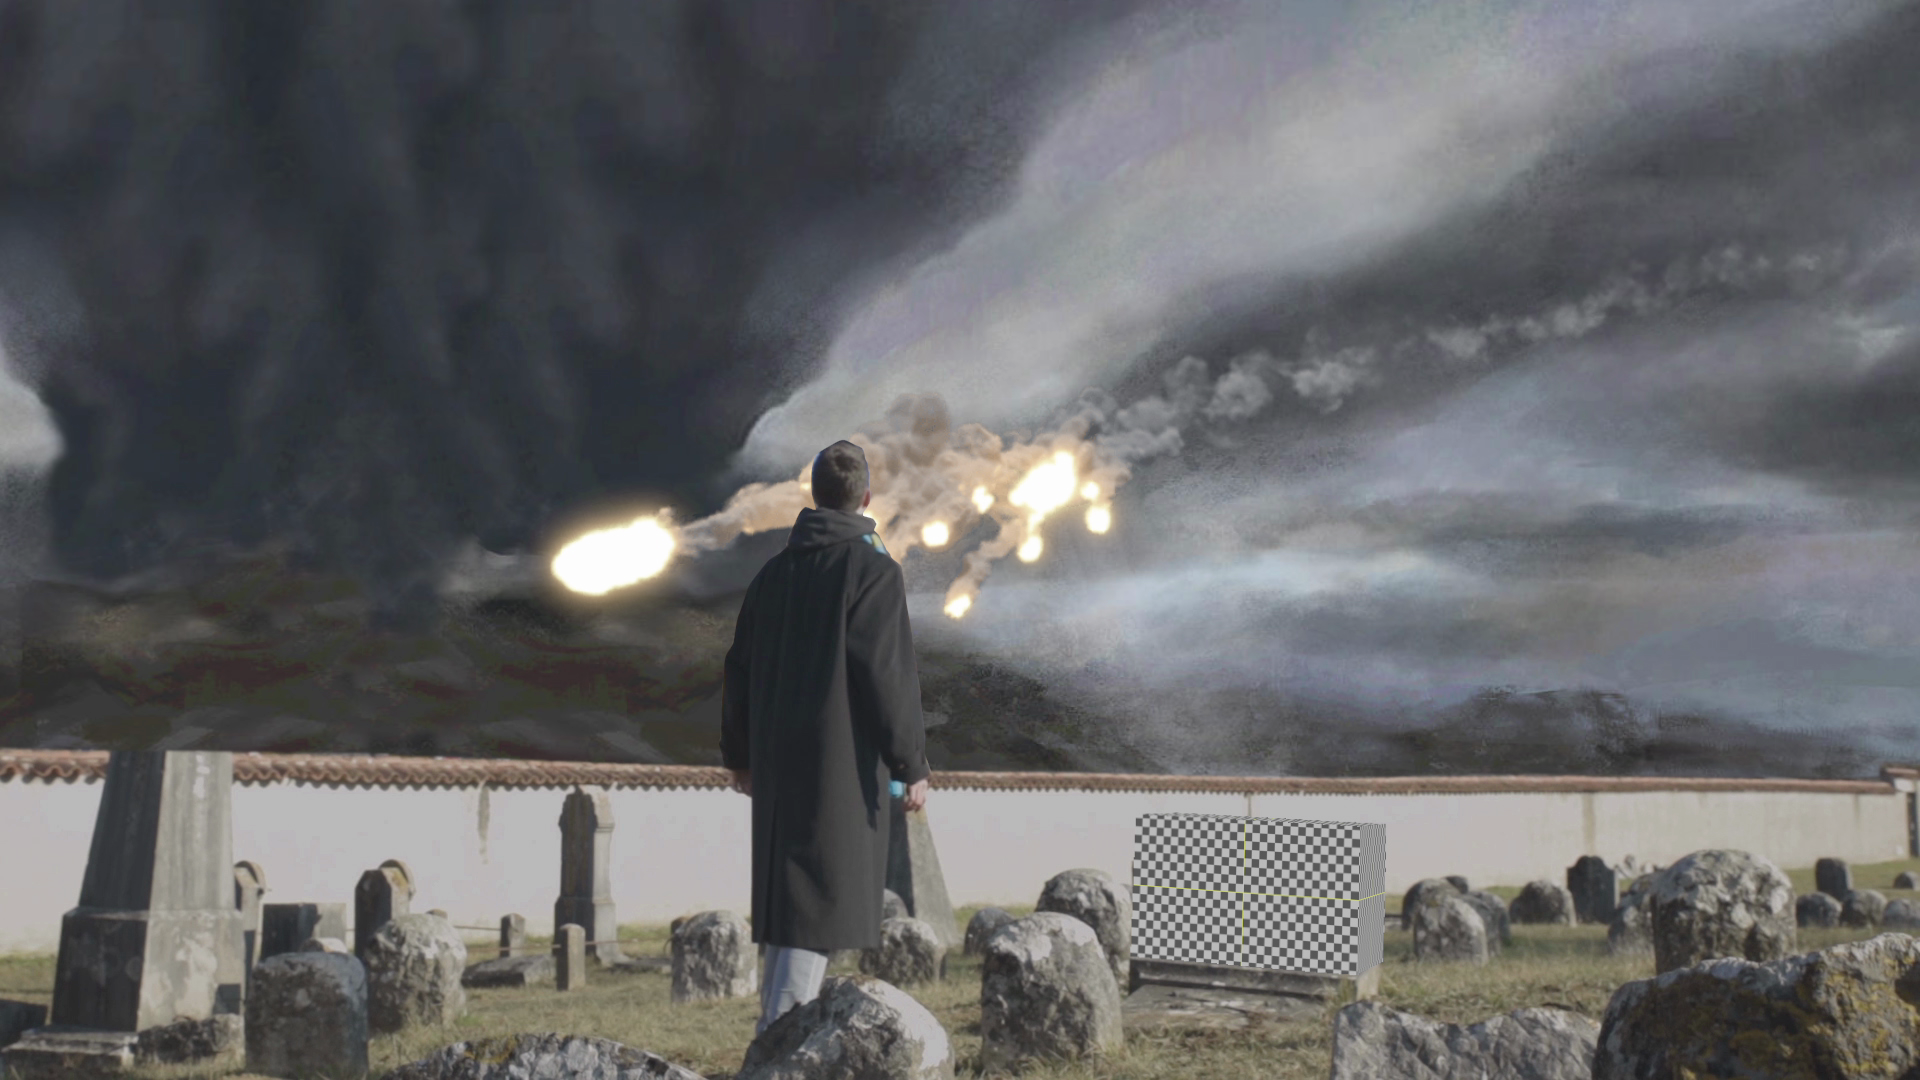
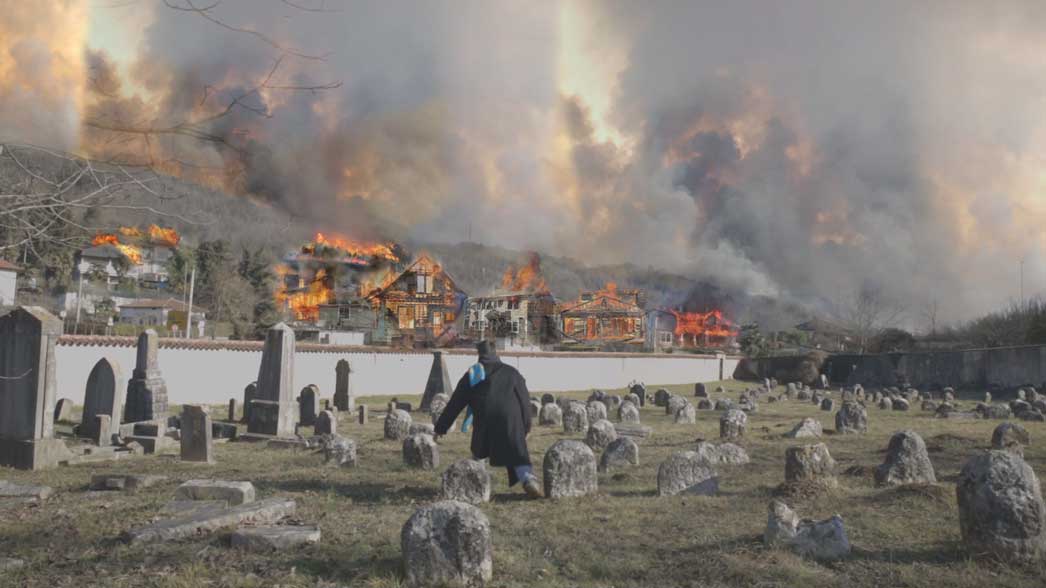
Marko is walking on the cemetery, above him is a darkened sky. From it one by one meteorites start to fall down to the ground and one of them hits the graveyard. Marko heads closer, where he finds out that it’s a battery. When he takes it into his hands, it turns on and starts to project instructions on a nearby grave. Meanwhile another meteorite falls to the graveyard. Marko goes closer also to this crash site and there finds a robot. When he notices an opening on his back, he immediately understands that he needs to put the battery there – as he does that, the robot turns on and shoots a bullet to the clouds. The sky calms down and a rainbow appears on it.
Postproduction props
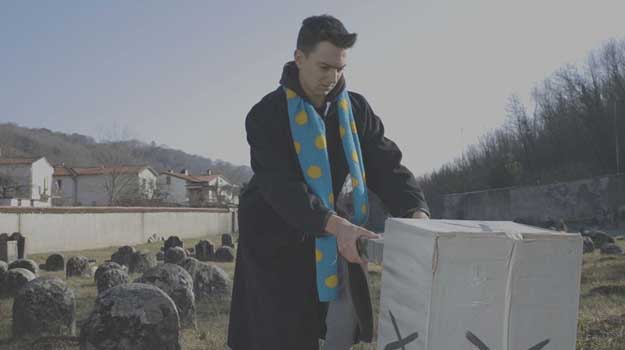
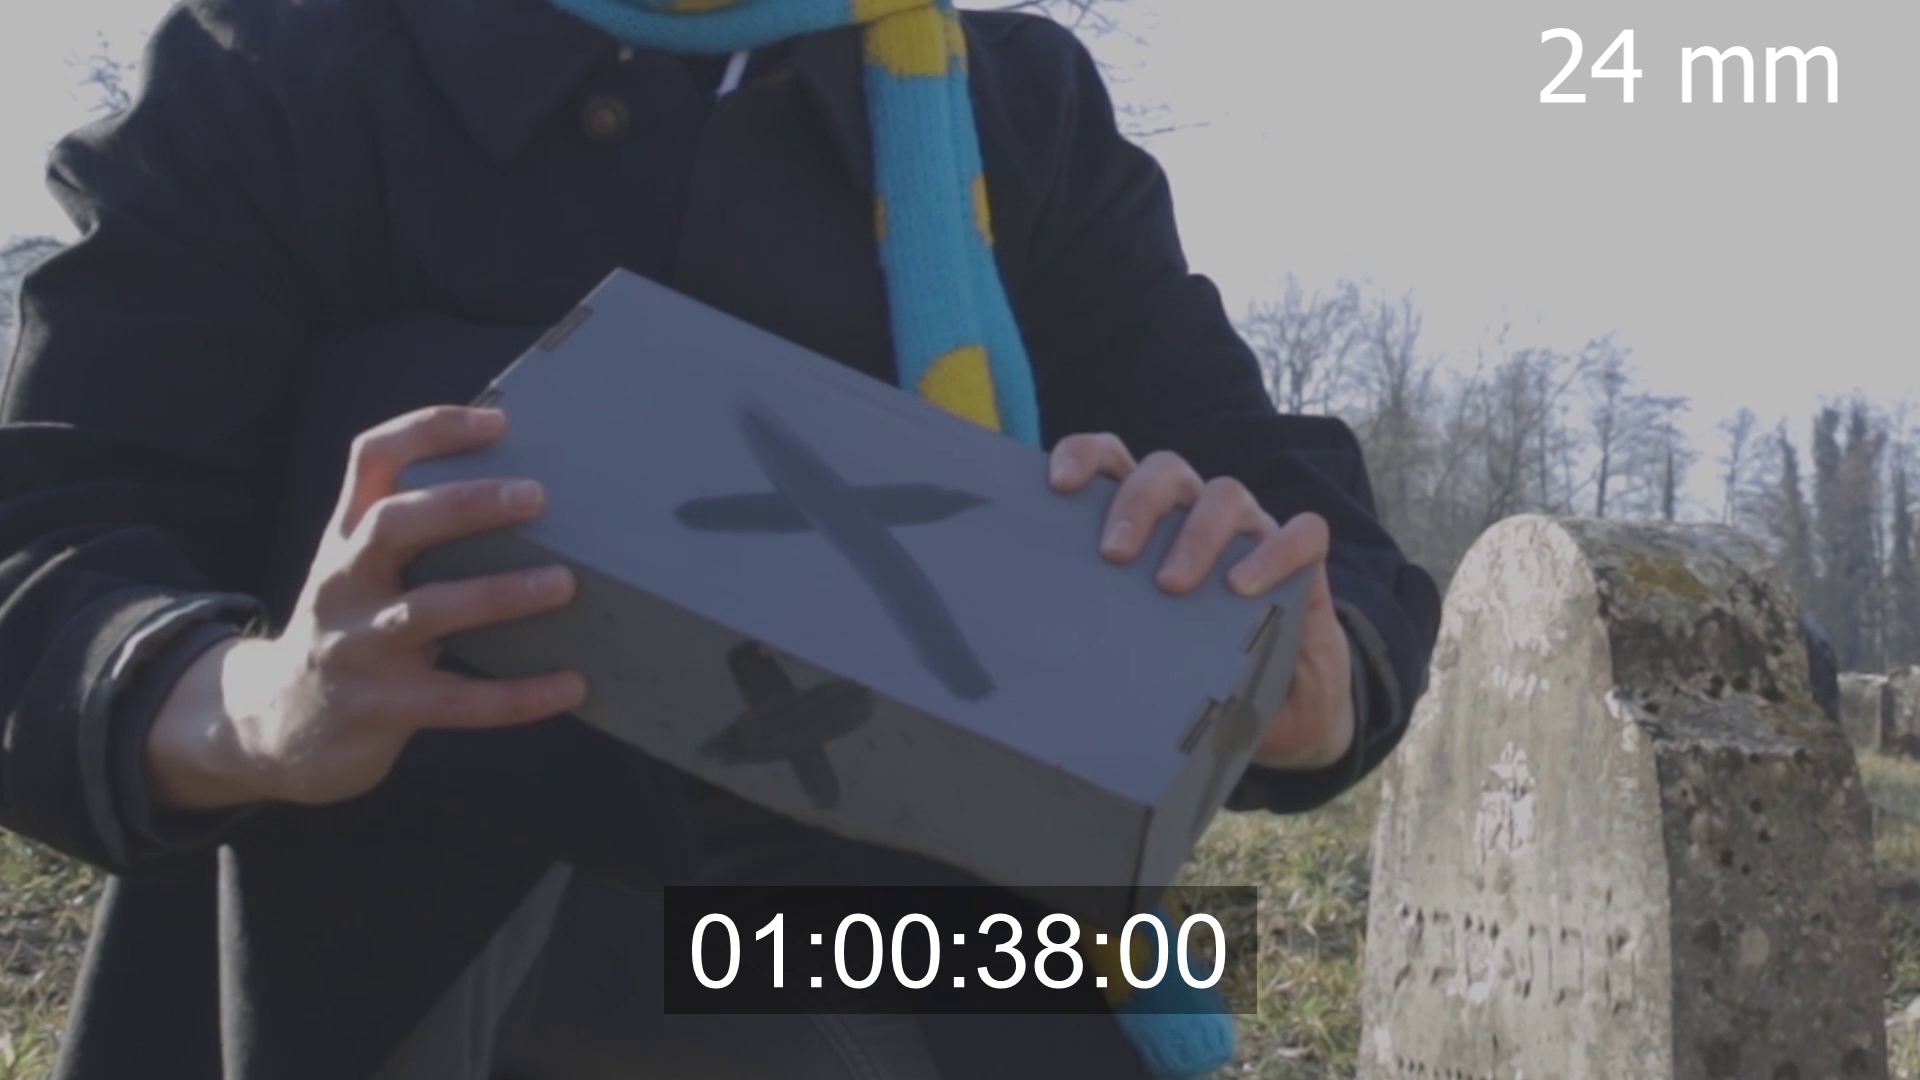
After finalizing the story, we divided into groups, that each took care of one department of film creation, and started with preparations for shooting of the film. Key element for special visual effects are props, designed for replacing special effects on the shooting: “That we could pinpoint exactly where and when special effects are happening during shooting, we designed two boxes – instead of the battery and the robot. For easier postproduction work I also painted the boxes grey and put “X” on every side,” about her work writes Amadeja Kirbiš.
Doom’s Day is Here: Production
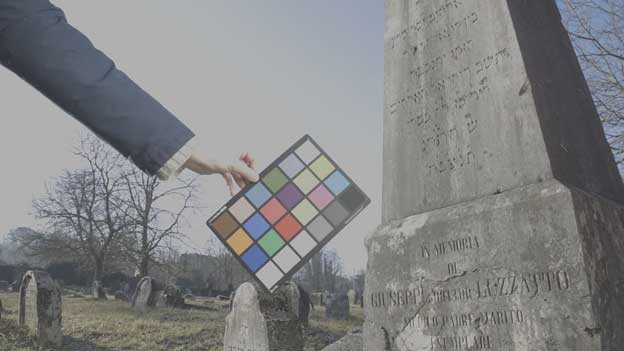
We tried to make the shooting as professional as possible: taking the equipment at the planned hour, rehearsals on the set before shooting with an actor (Luka Carlevaris) and all the time think in the connection with later postproduction processes: capturing reference HDR 360-degrees pictures, information for color synchronization etc.
Directing
The directing part of the project was entrusted to Anja Paternoster: “As a director I was intensely included in all the phases of the project: in preproduction I designed synopsis and for the shooting fitting storyboard, on the set I tried with guiding the coworkers ‘materialize’ my vision (this was especially strong learning experience) and in later postproduction cooperated with the editing team, encouraged other teams and stated my opinions.”
The Robot Comes Alive: Postproduction
Editing
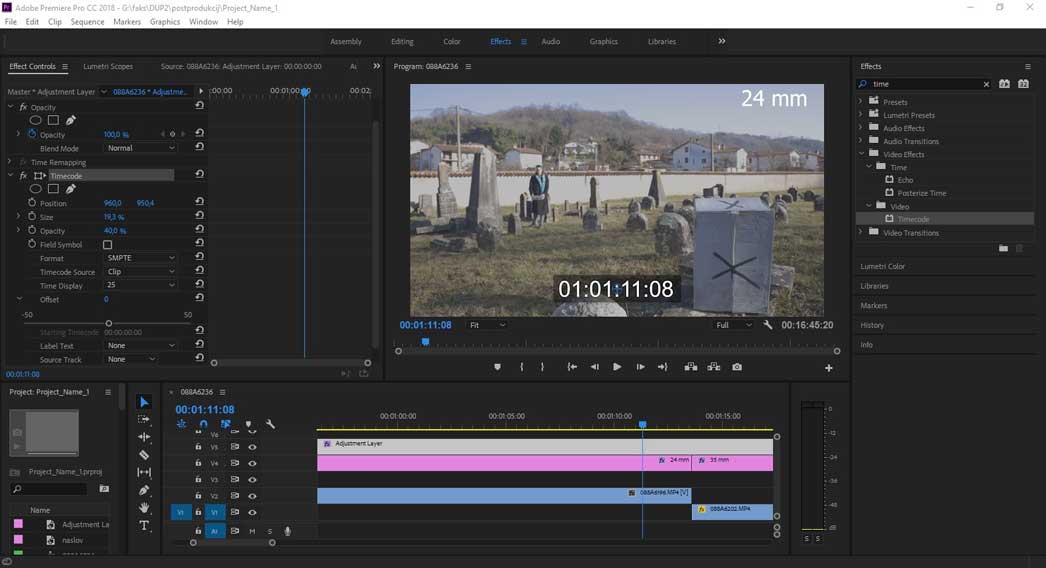
In the classes that followed the shooting we started with the process of postproduction. For this intended teams started to design concepts, and the editing crew with preparation of the material for the work of other postproduction groups: “Besides the usual editing tasks (selection and combination of shots) our work consisted also of tasks that are connected with special effects: we had to add information of shot’s length and type of lens that was used, but also cut the movie on shots, for further work of other groups,” about the work of editing group writes Katja Pivk. “Besides this we (next to her also Katarina Brglez) were always reachable if other groups would need a certain video material.”
Concept Designs
Battery
As mentioned, meanwhile for this intended groups designed concepts for robot battery and environment, with which a large part of designing had to be adjusted to the vision of other groups: concept of the robot in synchronization with its 3D team, concept of the battery had to be made in accordance with robot concept and the group for environment created their idea with communication with the directing team.
»Our work (besides me also Luka Carlevaris) started with searching for references or shapes that could look like a battery,” the genesis of the process of battery concept describes Parisa Zaeri. “Then we designed different types, to figure out which battery is most suitable and after consulting the 3D and directing team came to the final design. Luka drew it on a paper, and I copied it to digital form. In first phase it was a 2D concept, from different angles, and this evolved to the final 3D model.”
Environment
At the same time the group for concept design of environment was also preparing its work, in which a special attention was put into “environment design that strengthens the narration of the story which film wants to pass to the viewers. In the work process we examined the foundations of this part of movie creation, in example how to tell the story and creating the film’s atmosphere,” Ezgi Sakin explains the work of her department.
Robot Concept
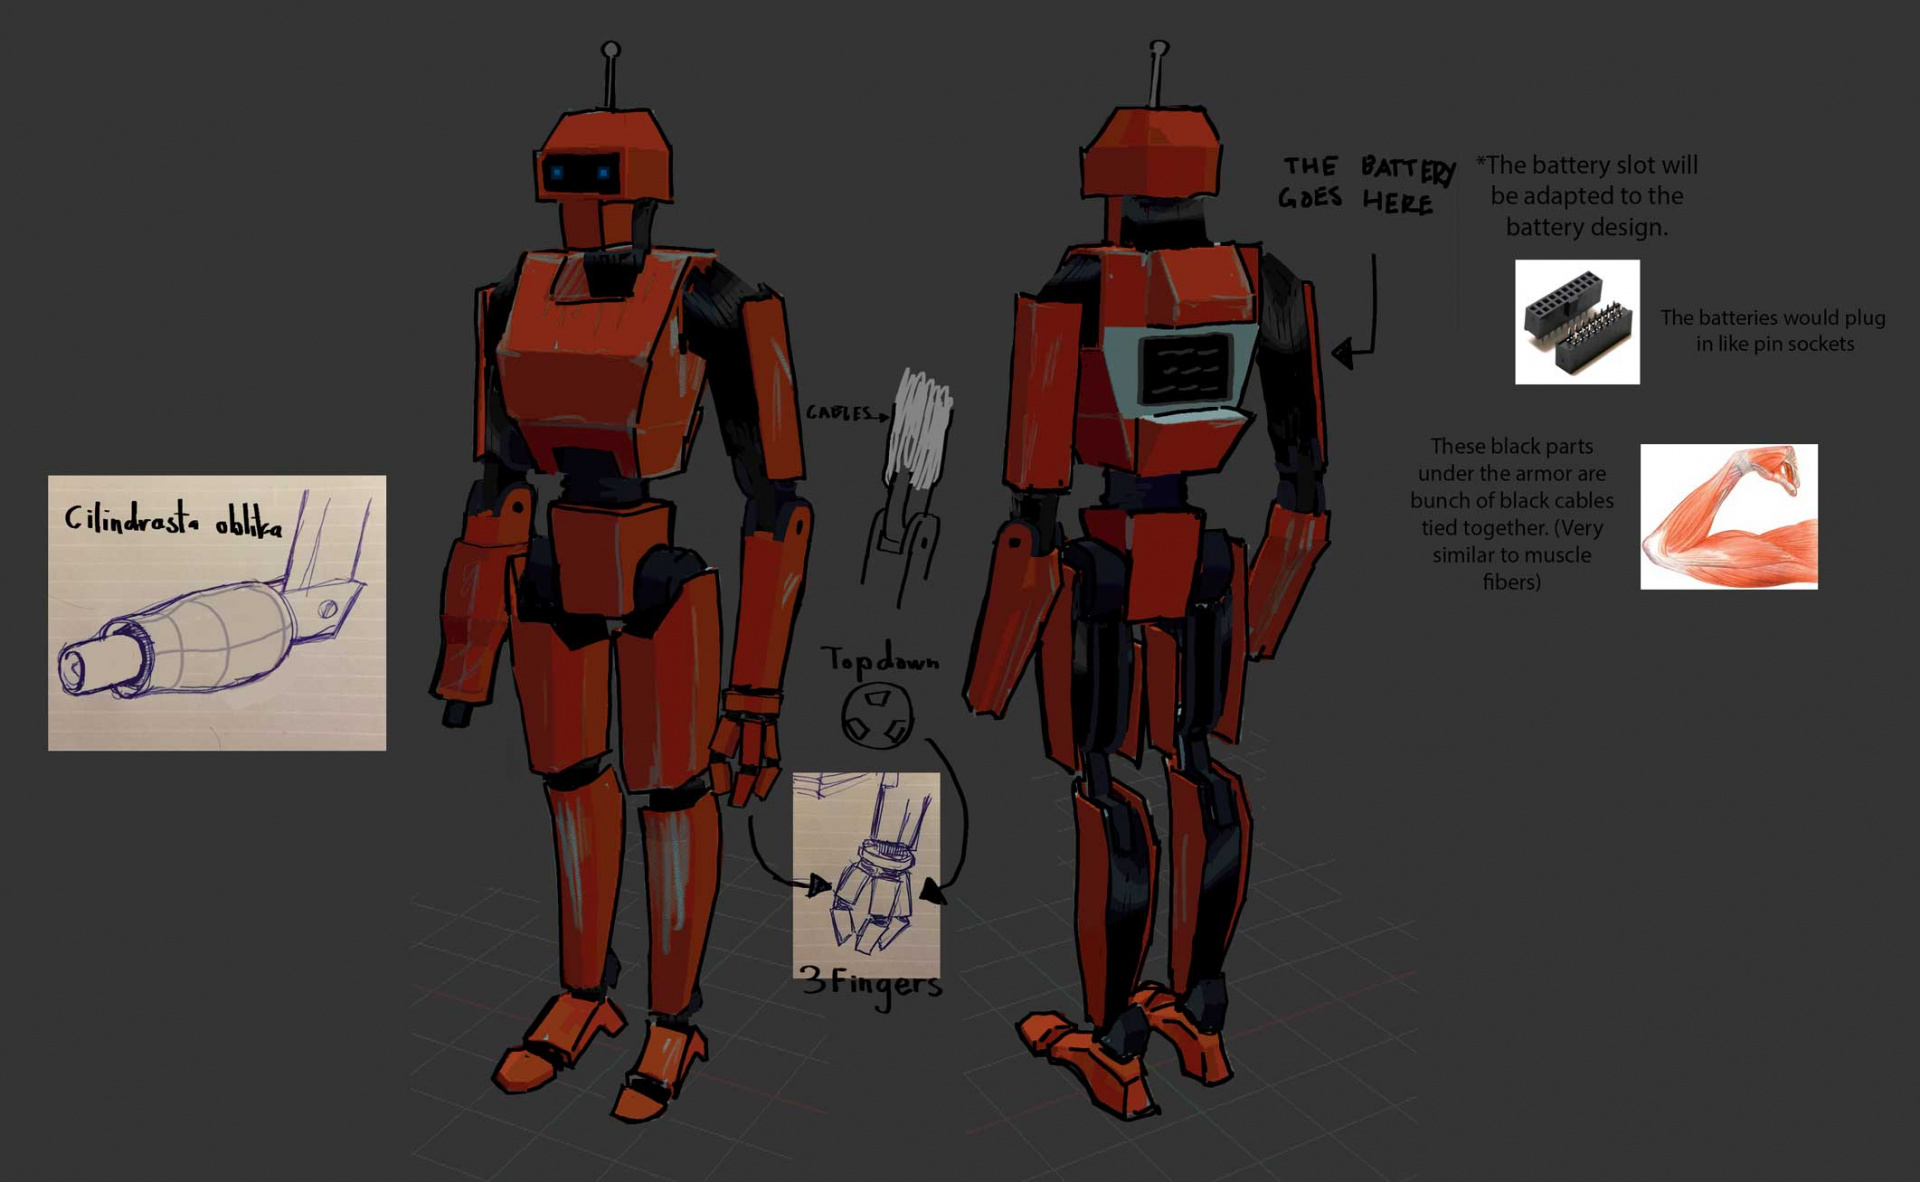
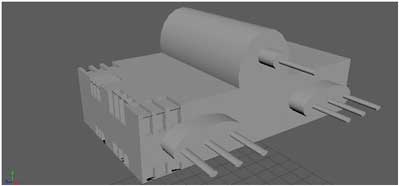
As mentioned, the robot concept demanded coordination from several sides and was as such a hard task: the idea had to be visually appealing, but it also had to take into account the limited postproduction time window and story features (room for battery etc.).
Visual Effects
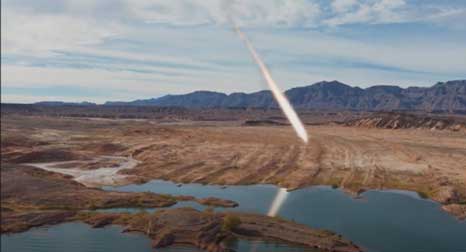
At initial creation of the groups we also designed a team for special visual effects (VFX). This is a process with which we edit the picture outside the context of living action of a movie. Maja Grčki: “With special effects we, beside fire and smoke, wanted to show how a small meteorite falls on a graveyard, but with time regulations we could not do so. During our work we found that this is a complex activity – it’s not easy to take all the details into the account that create a good special effects, while being careful that they suit the video. But at the end I can write that the class was really interesting for me and that I learned a lot of new things.”
3D Modelling
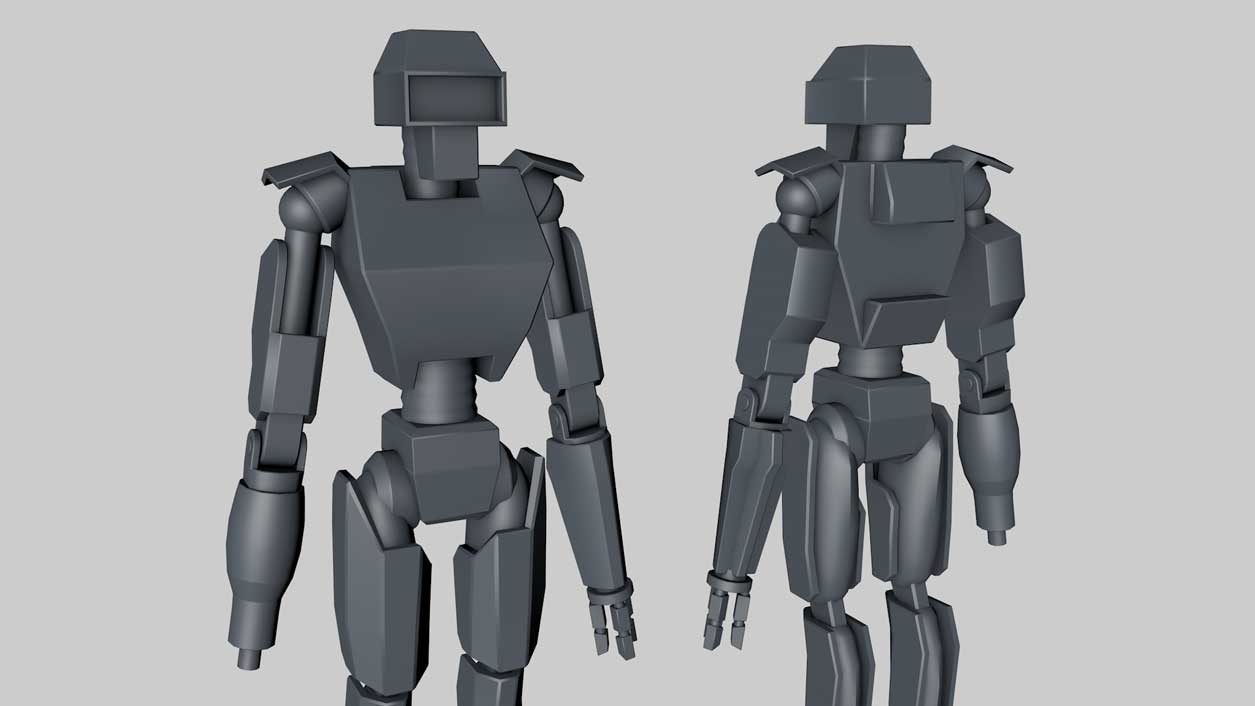
The ideas for the concepts of 3D elements were “put to life” by the group for 3D modelling: “Our process of work began with first phases, where we collected ideas, through created concepts and at the end 3D modelling; this should be followed by the texturing and finally animation phase, but we sadly ran out of time for them,” wrote Denis Perčič.
3D Tracking
Based on the fact that it’s a video project, the feature of fitting movement to special effects, in relation to other visual elements, is one of the key factors of such work. Even though the process is greatly helped with the strength of contemporary software, it’s still a relatively (at least at the beginning) difficult task, that demands a lot of exactness. Sadly we couldn’t finalize the process completely, but this was a great (for some second one) “welcome” to this postproduction process feature.
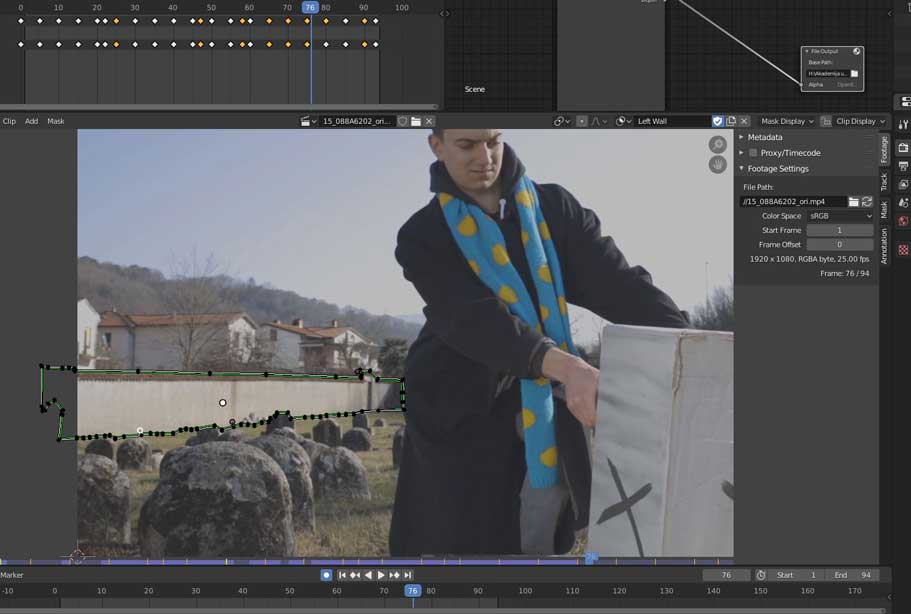
Rotoscoping
In digital visual editing of the picture the process of masking is a known term, but little less “famous” is his video “cousin”: rotoscoping is a process of animating a mask, with which we digitally manipulate the chosen part of an image, so that it fits the movement of it. As the whole class worked on this process, we could all saw how much patience it demands.
… But the World is Not Saved Yet: Evaluation of the Unfinished Project
Our postproduction work wasn’t executed to the point that was set in initial meetings. As we discussed at final lectures this was mainly due to too many shots: in the planning phase we started with 5 shots and ended up with more than 15. Tasks remain unfinished in the field of texture and animation of digital 3D elements, rotoscoping, 3D tracking, adding other special visual effects (meteorite) etc.
Although not finalized, it’s on spot to say that the project still fulfilled the goal: it was not to conclude the movie, but to understand the fundamentals of digital special effects. Today we know far more about this postproduction process than we did at the beginning of the year, therefore this project, and with it the class, cannot be evaluated differently than successful.